Builders guide is useful for a DIY project, Owner Builders and Licensed Builders building YZY Kit Homes for the first time. Building YZY Kit Homes is a fairly easy process, but there are a few specific points that builders must keep in mind to prevent possible future problems. Following steps are specific to YZY Kit Homes buildings and we strongly recommend that you watch attentively our videos and read instructions before starting installation.
Step-by-step videos and instructions of the main builder’s guide are limited and specific to YZY Kit homes granny flats and backyard cabins.
We also have additional guides to assist our DIY enthusiasts. You can find a page about the foundation, electrical wiring and timber care and maintenance. And there will be more guides to come. However, these building project components will vary from site to site and will have to be executed by licensed tradesmen.
Building process of Scandinavian cabins requires a set of skills and knowledge in construction, Australian building standards and local regulations. For best results, a team of carpenters or any other trades in construction have to be supervised by an experienced licensed builder.
Should you have any questions before or during installation, please contact the Accredited builder/Authorised supplier you have purchased the kit from. And please note that you can always request a helpmate to guide you through the assembly process for a few hours or for a day. Ask your local builder for more information.
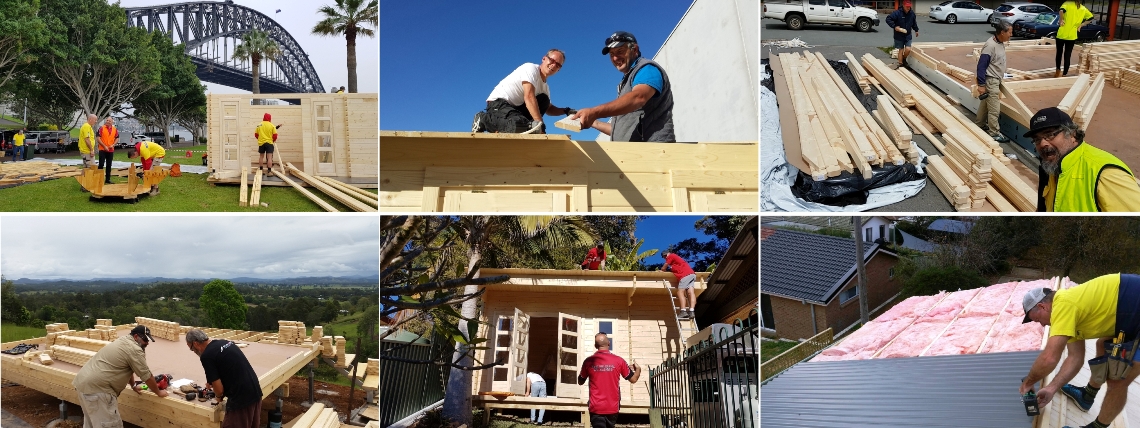
Click the steps below for videos and step-by-step instructions.
Step 3 – Getting all parts organized for effective and safe Installation
Step 6 – Pre-drilling holes for electricity and hold-down rods
Step 8 – Assembling the first few wall-boards
Step 9 – Installing doors and windows
Step 10 – Building progress and finishing walls
Step 11 – Installing and fixing the gables
Step 12 – Squaring and plumbing the walls before putting your rafters and ceiling boards
Step 14 – Installing rafters above veranda
Step 15 – Tying down the structure
Step 16 – Installing T&G ceiling boards